Be the one who, when you walk in,
Blessing shifts to the one who needs it most.
Even if you've not been fed,
Be bread. -- Jelaladdin Rumi This post has photo-highlights from the past month and LINKS to many timely Posts (below).
Hello everyone, being a gardener helps one tune into weather-changes and the rhythms of the seasons on a much more acute level. The Pacific NW, where we live has been experiencing the profound and ongoing effects of a La Nina year. For us, this means cooler temps and lots more rain. And, while we're grateful that we're not experiencing the record-breaking heat waves of Summer-2021 (our local thermometer reached 109 F at the end of June!) - having SO much rain presents its own challenges. We've had several perennial plants die as their roots drowned (forsythia, lilac and Gogi berries). Grass is growing like crazy, which is wonderful for mulching but sometimes the grass grows so fast between mowings that we have to cut it without bagging it and come back later to collect the clippings when they've dried out a bit, otherwise they just clog the mower. And, having to run the mower twice over the same ground to cut and bag the grass uses twice as much gas!
We are so very grateful for our greenhouses which have allowed us to plant and harvest significant quantities of beets, lettuce, carrots and other cool-weather crops, in spite of the rains outside. All the plants are looking marvelous! The next ten days show a warming trend with little rain so everything planted outside should really begin to grow with summer-vigor!
Garden Gallery:
The majority of our harvests are feeding our wonderful share-givers (volunteers) and ourselves and being donated to the Stone Soup Kitchen in Corvallis that prepares and serves/distributes 300-400 meals per month. We're donating much less to the South Benton Food Pantry this year for two reasons. One is that we've cut back on how much food we're growing and secondly, the Pantry is now blessed to be receiving donations from many new sources that weren't in place when we started our charity in 2009. Local growers contribute their surplus, and the warehouse serving the Pantry (Linn/Benton Food Share) is contracting with local farmers to grow produce too. We are happy to see how much more produce the Pantry is serving, and how much more interest the participants have in receiving it.
Garden's Progress: We don't have a lot of great pictures from this past month. When skies are overcast, and share-givers are bundled in sweatshirts and rain coats, it doesn't create a very photogenic scene! But here are a few pics to give you an idea of what we've been up to:
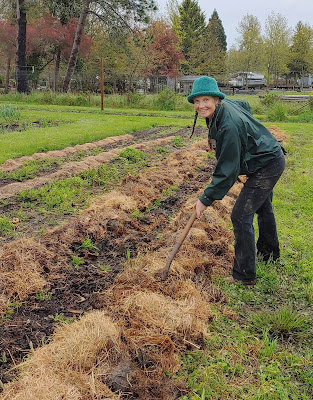 |
Llyn, in the rain, spreading straw for the cucumber patch.
|
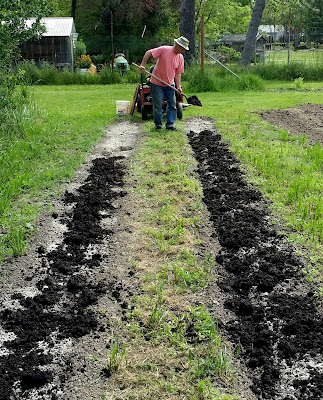 |
And here's Chris distributing compost and ashes for our corn patch.
|
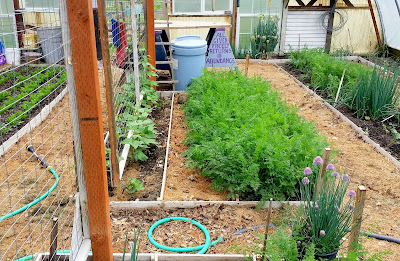 |
That bright green patch in the center is all carrot plants. We estimate that it yielded over forty pounds!
|
 |
Chris, Sandra and Jenny planting potatoes on a dry day. We have three, 50' rows of potatoes planted and we just hope that they haven't drowned like the first 150' of potatoes we planted back in April.
|
 |
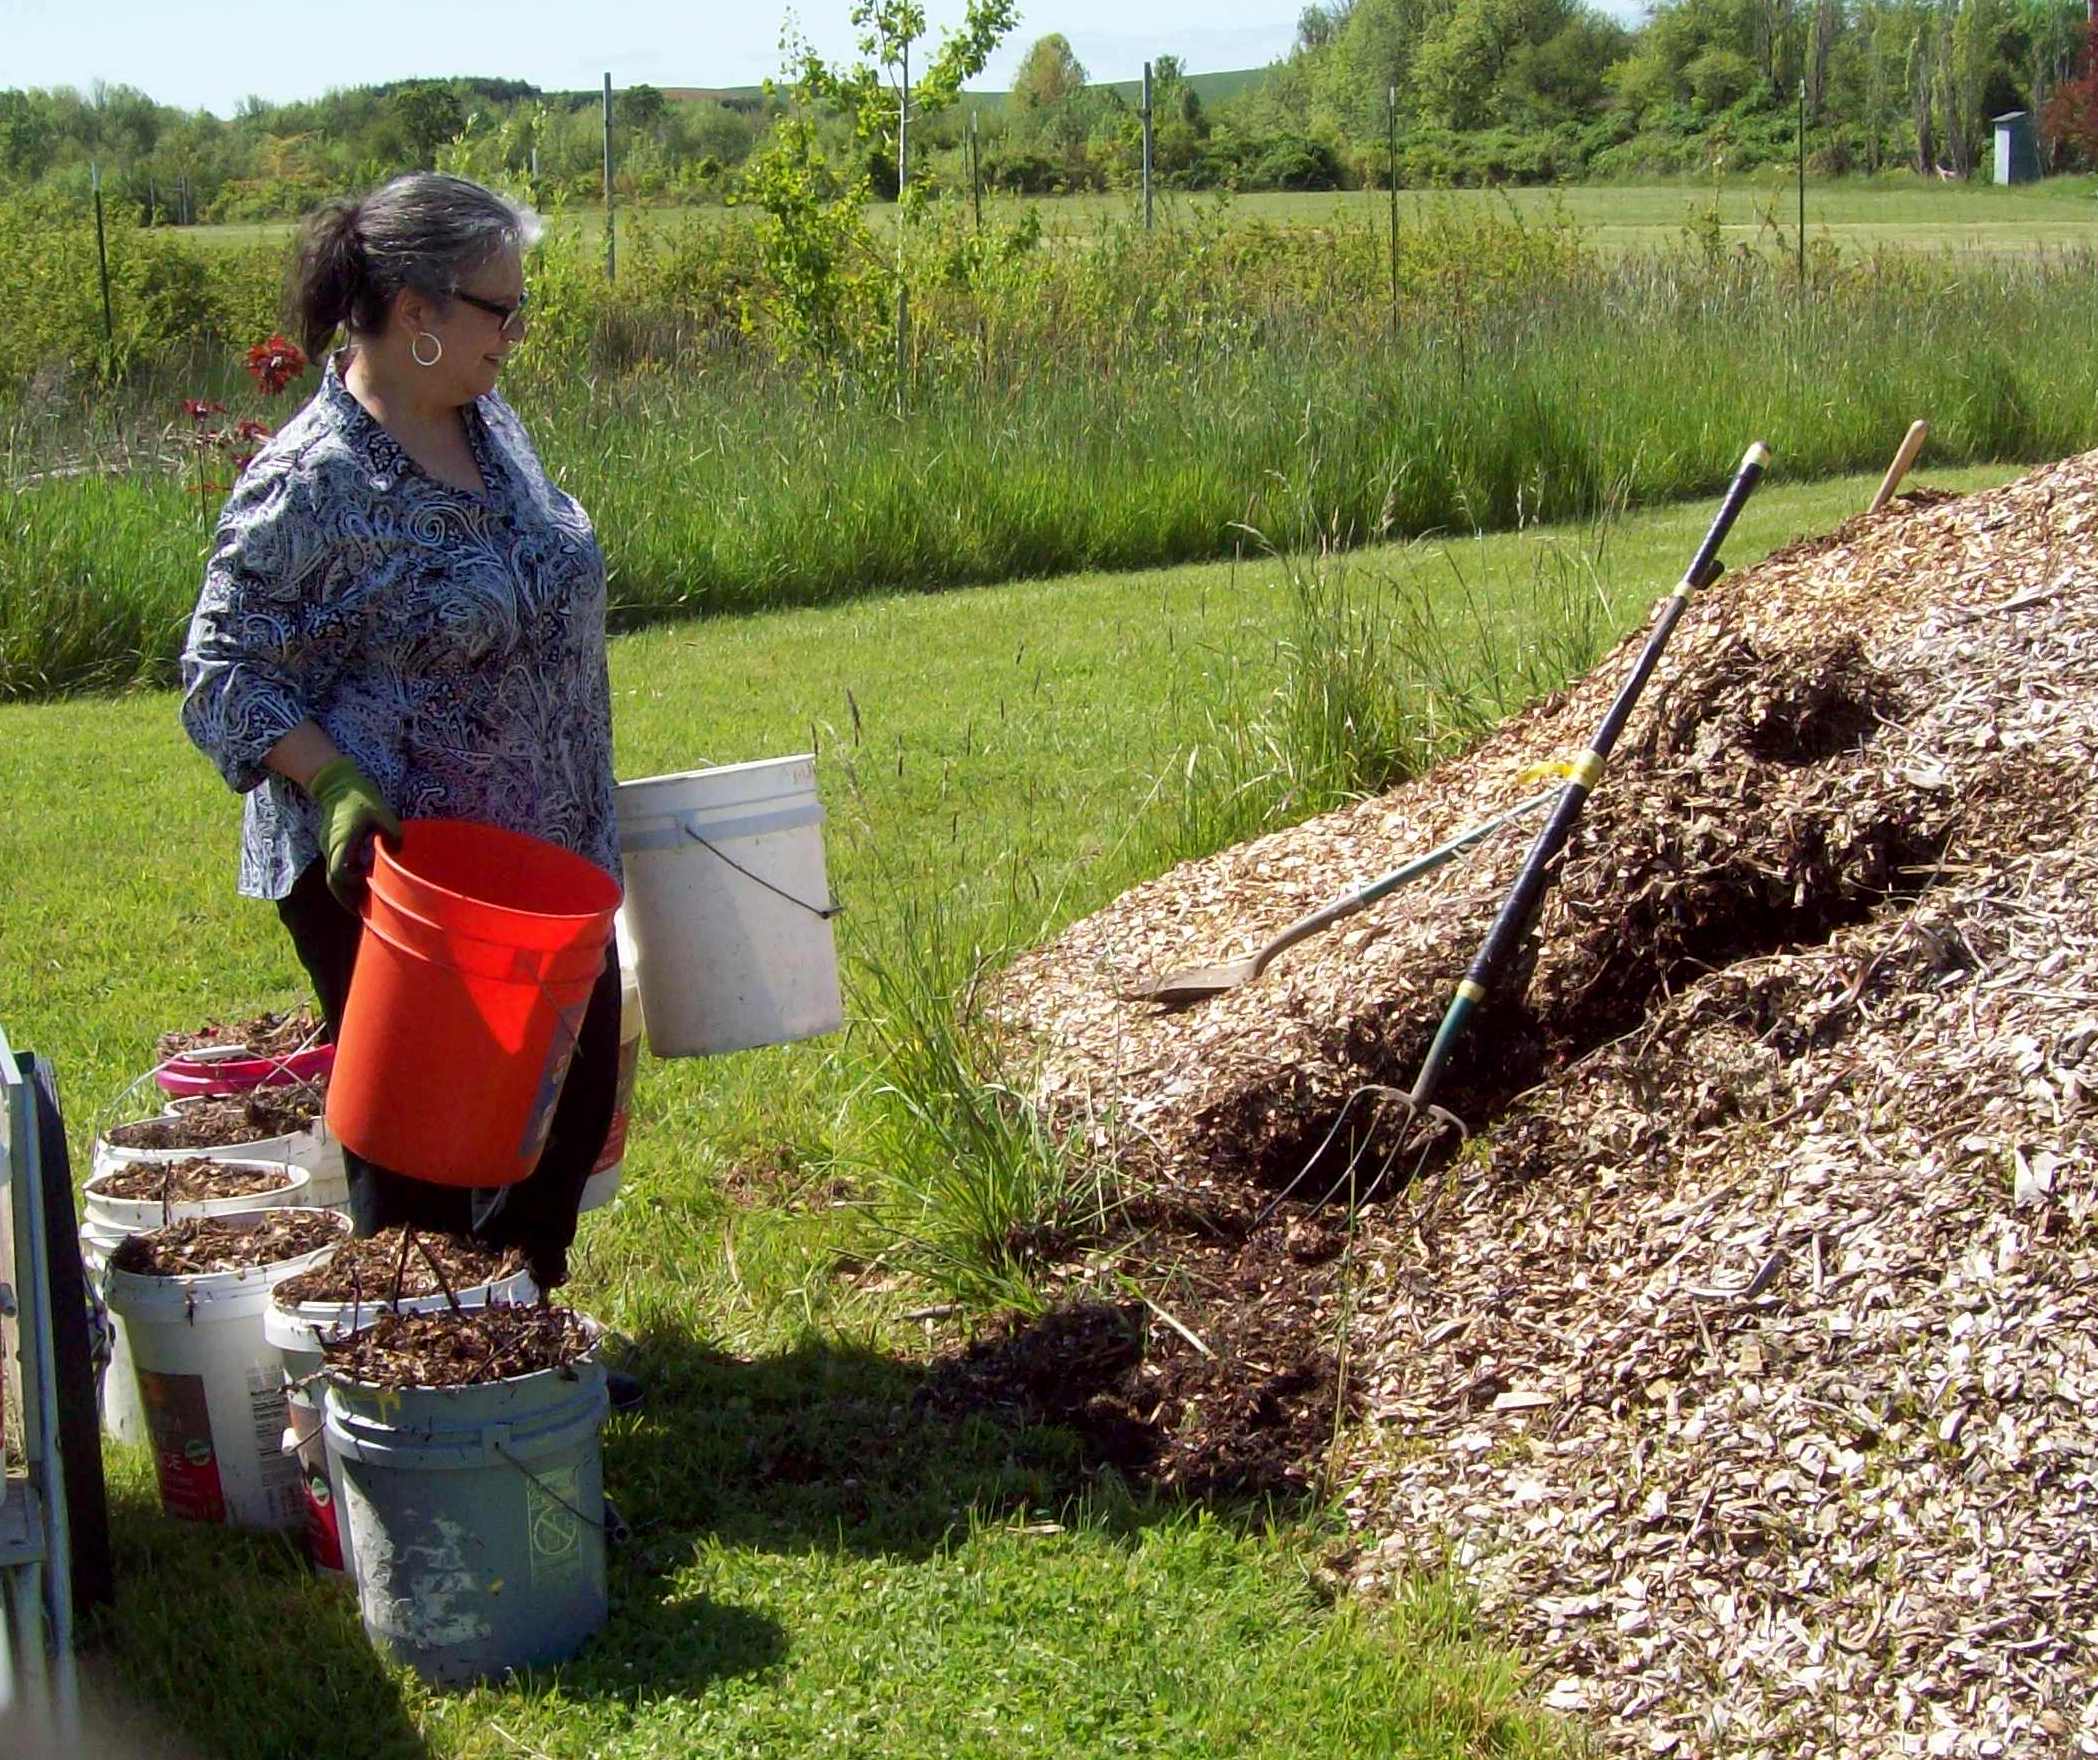
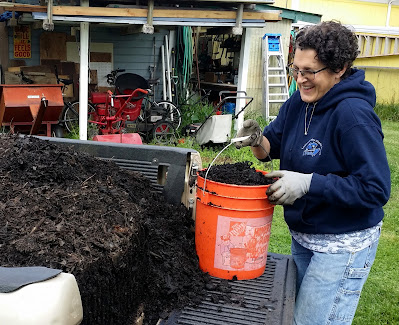
Suzanne, loading buckets of wood chips to spread around our orchard-trees to minimize weeds and keep the moisture constant through the summer.
|
 |
Now, doesn't that look nice!
|
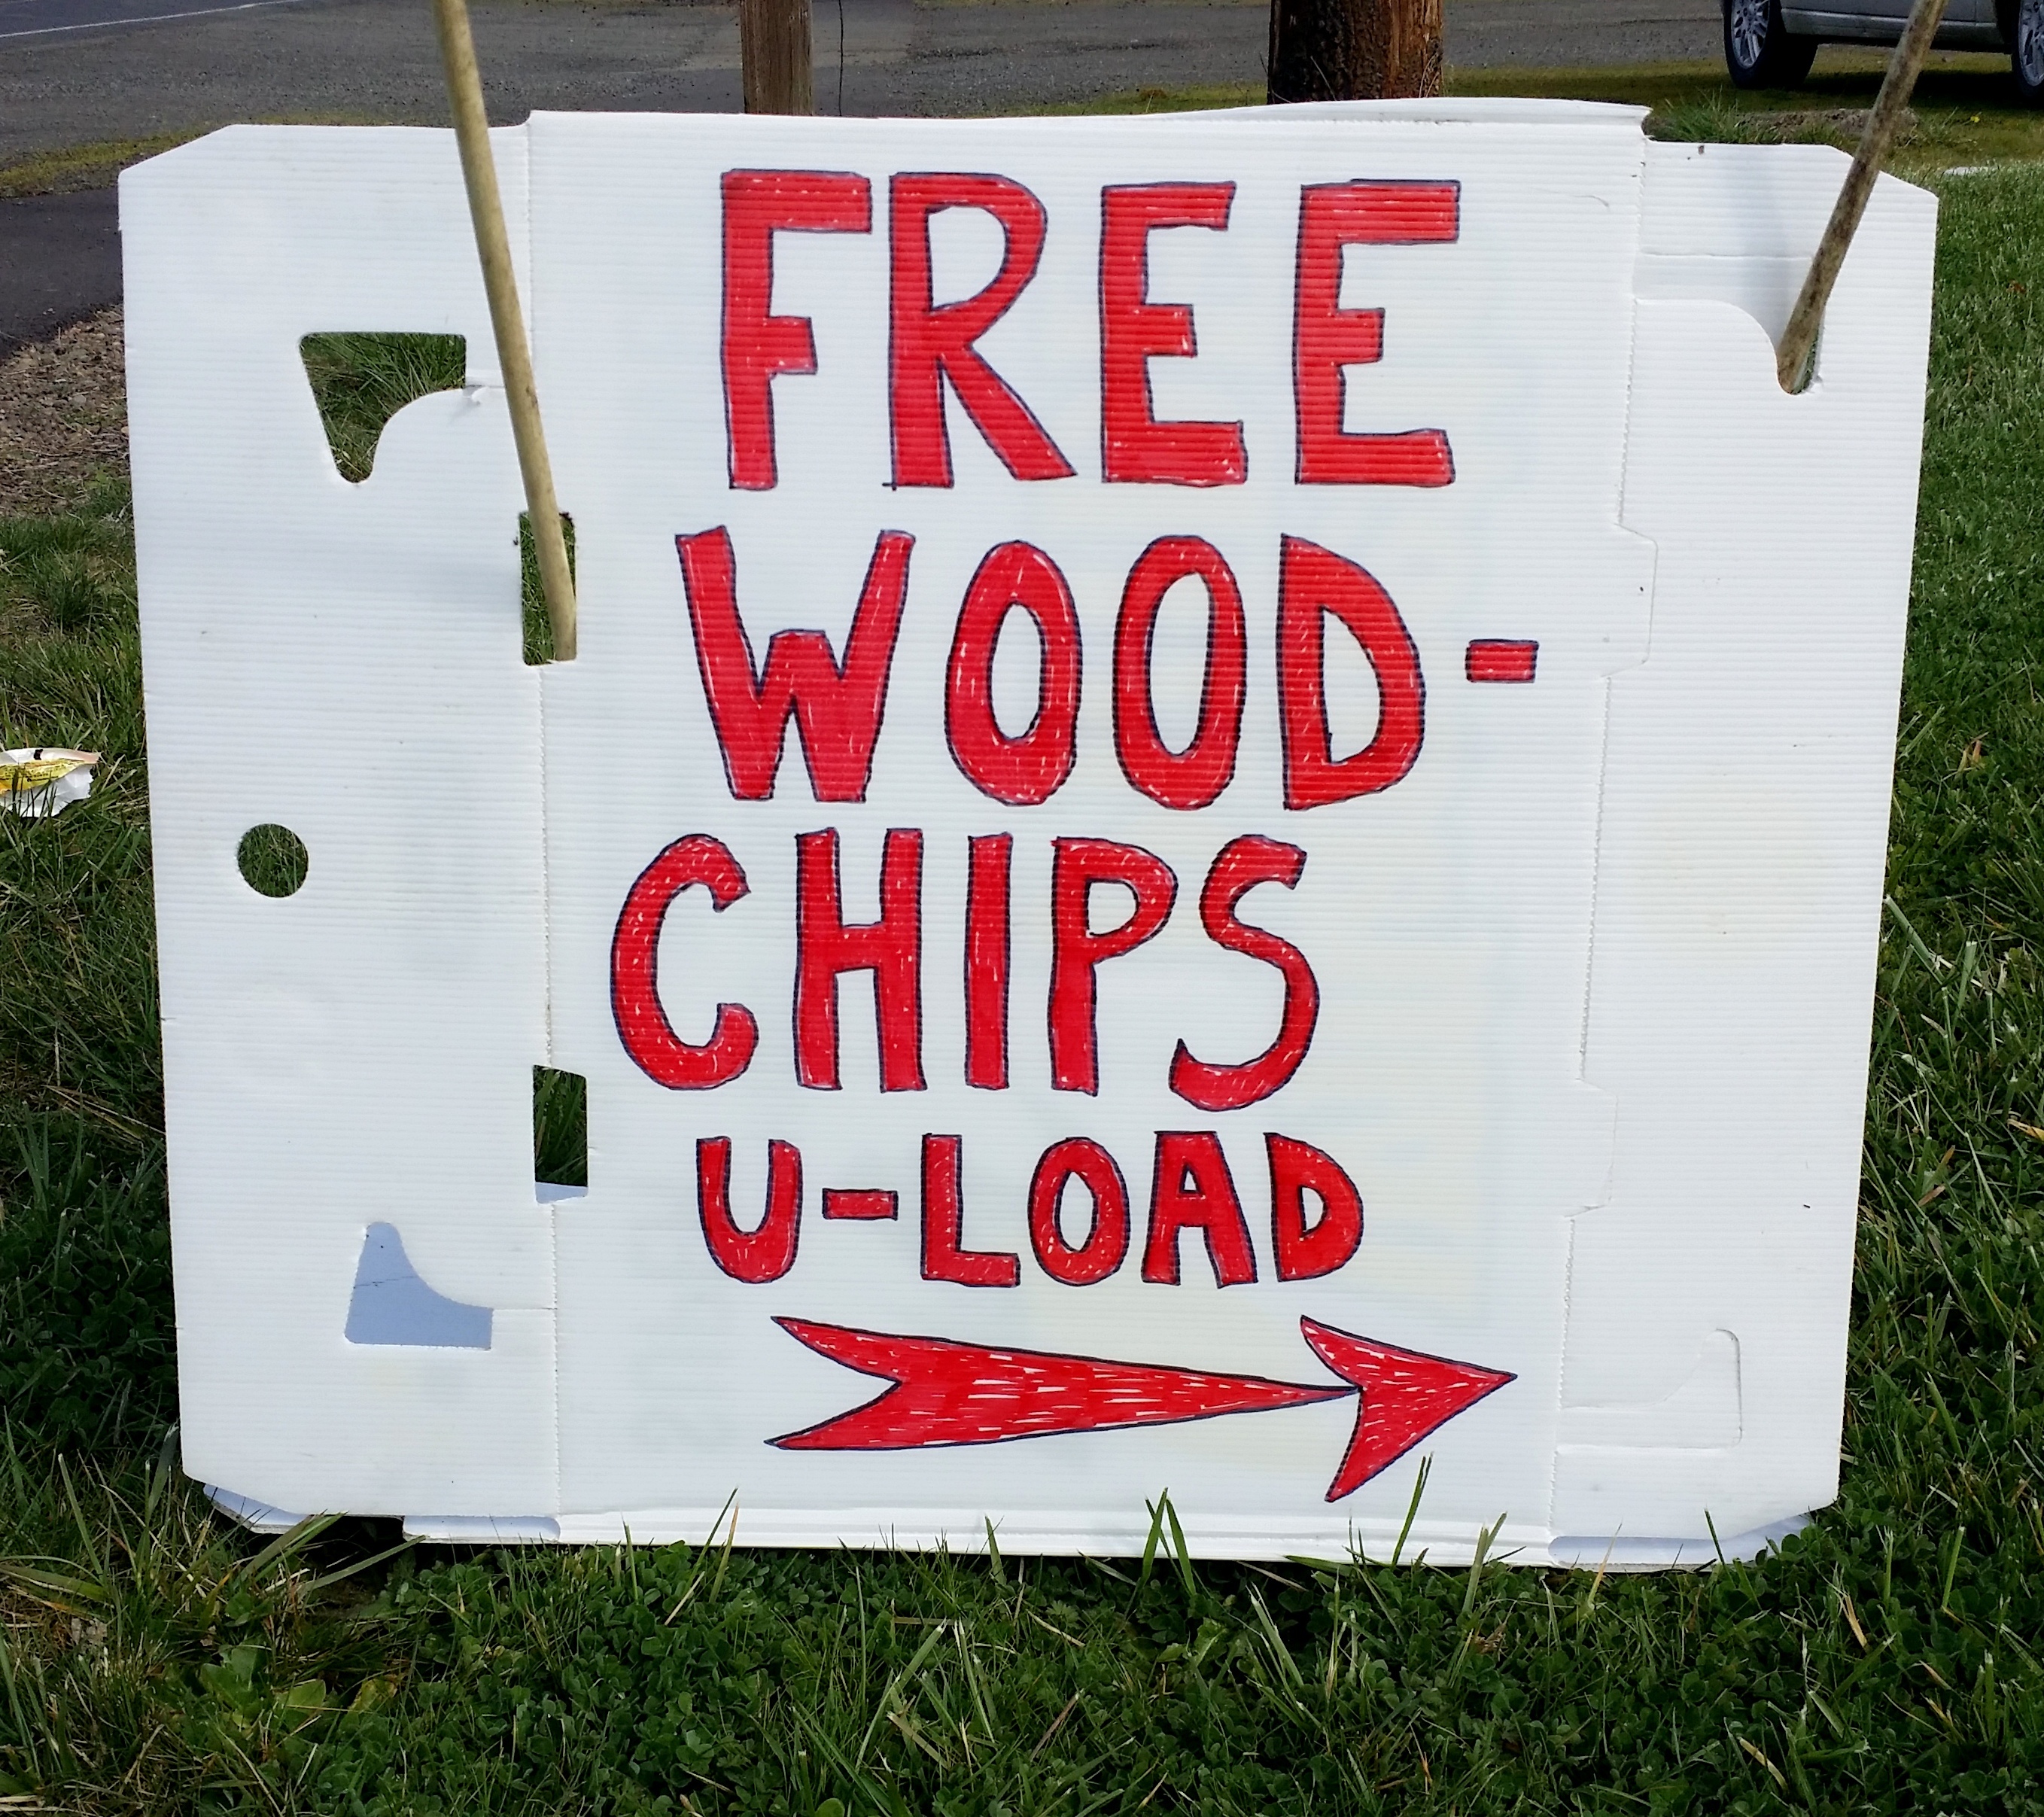
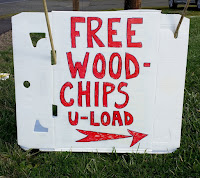 M.R. Tree is still bringing wood-chips as fast as our neighbors can haul them away for mulching projects of their own. Come and get 'em!
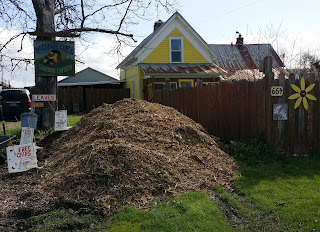 |
Come and get 'em!
|
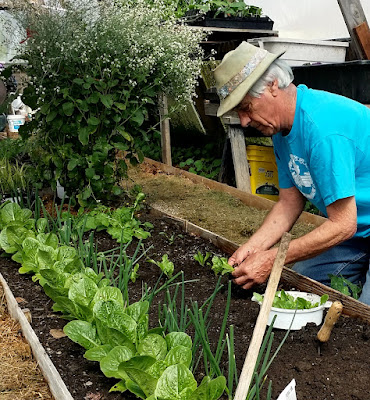 |
Chris, transplanting lettuce seedlings.
|
 |
Cindy, in the carrot patch
|
We received a wonderful donation of leaf mold (composted leaves) from our friend, Lua who runs extensive garden programs at two different schools near Corvallis.
 |
Lua, unloading leaf mold (donated by Sunbow Farms/Harry McCormack).
|
 |
...and the truck-load of 'starts' we sent back with her for her students.
|
LINKS to Timely Posts:If you live in the local area and have a well, please come to this
Free Well-Water Nitrate Screening on
Sat. June 25 from 9:30 to 1:00. Bring 1/2 cup of unfiltered well-water. Testing takes approx. 10-minutes.
Originally published early in the pandemic, this post continues to be relevant for those who are attempting to grow more of their own food. Locally Sustainable Gardening in the Face of Supply-Chain Shortages.
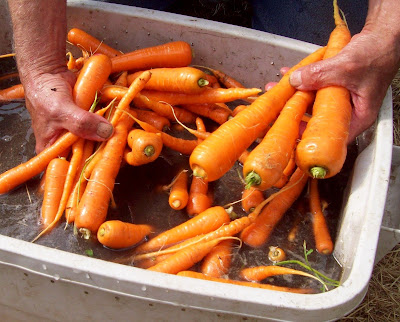 |
Beautiful, sweet, nutrient-dense carrots from this year.
|
We found this next article to be
well-written, informative and accurate (in our experience). If
your
garden-plants are suffering from nutrient deficiencies, they won't
produce as well and they will be more subject to the ravages of pests.
Also, if nutrients are missing for your plants, they will be missing in
your diet as well.
Are Nutrient Deficiencies Ruining Your Garden? By Amy AllenHere is a recipe that we've developed for Delicious Tofu Crumble: a great, plant-based alternative to ground beef or sausage in recipes such as chili, or as a pizza, or salad topping. Enjoy!
And, though the window is closing on planting the following two crops:
Scarlet Runner beans and Hooker's Blue Corn, there's probably just enough time if you live further south than us, or the killing frosts in our area, hold off next Fall. As Chris is fond of saying: "It's always best to
plant for all contingencies!" (That way, if one crop fails, you have other crops to fill in their place.)
Grow Your Own Protein - Scarlet Runner Beans: For several years, Chris and I have been able to grow a year's worth of beans for us, and have enough surplus to share with others in our gardening community.
How to build a Bean Tipi/Teepee...and grow beans for winter-storage
By purchasing a
heavy-duty grain mill several years ago, we've been able to
grow enough corn (both blue and yellow) and
two kids of sorghum that we dry and grind and use in baked goods and in a nutritious, hot breakfast cereal.
Grow Your Own 'Blue Corn'One beautiful side benefit of a rainy spring are some beautiful skies at sunset when the sun just peeks through from the west:
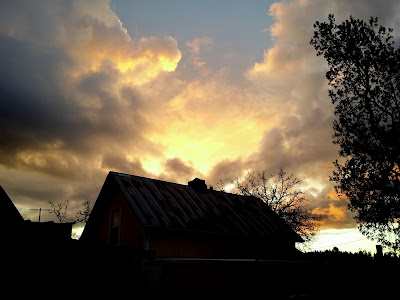 |
Sunset at the Sharing Gardens, May 2022.
|
And lastly...here's a